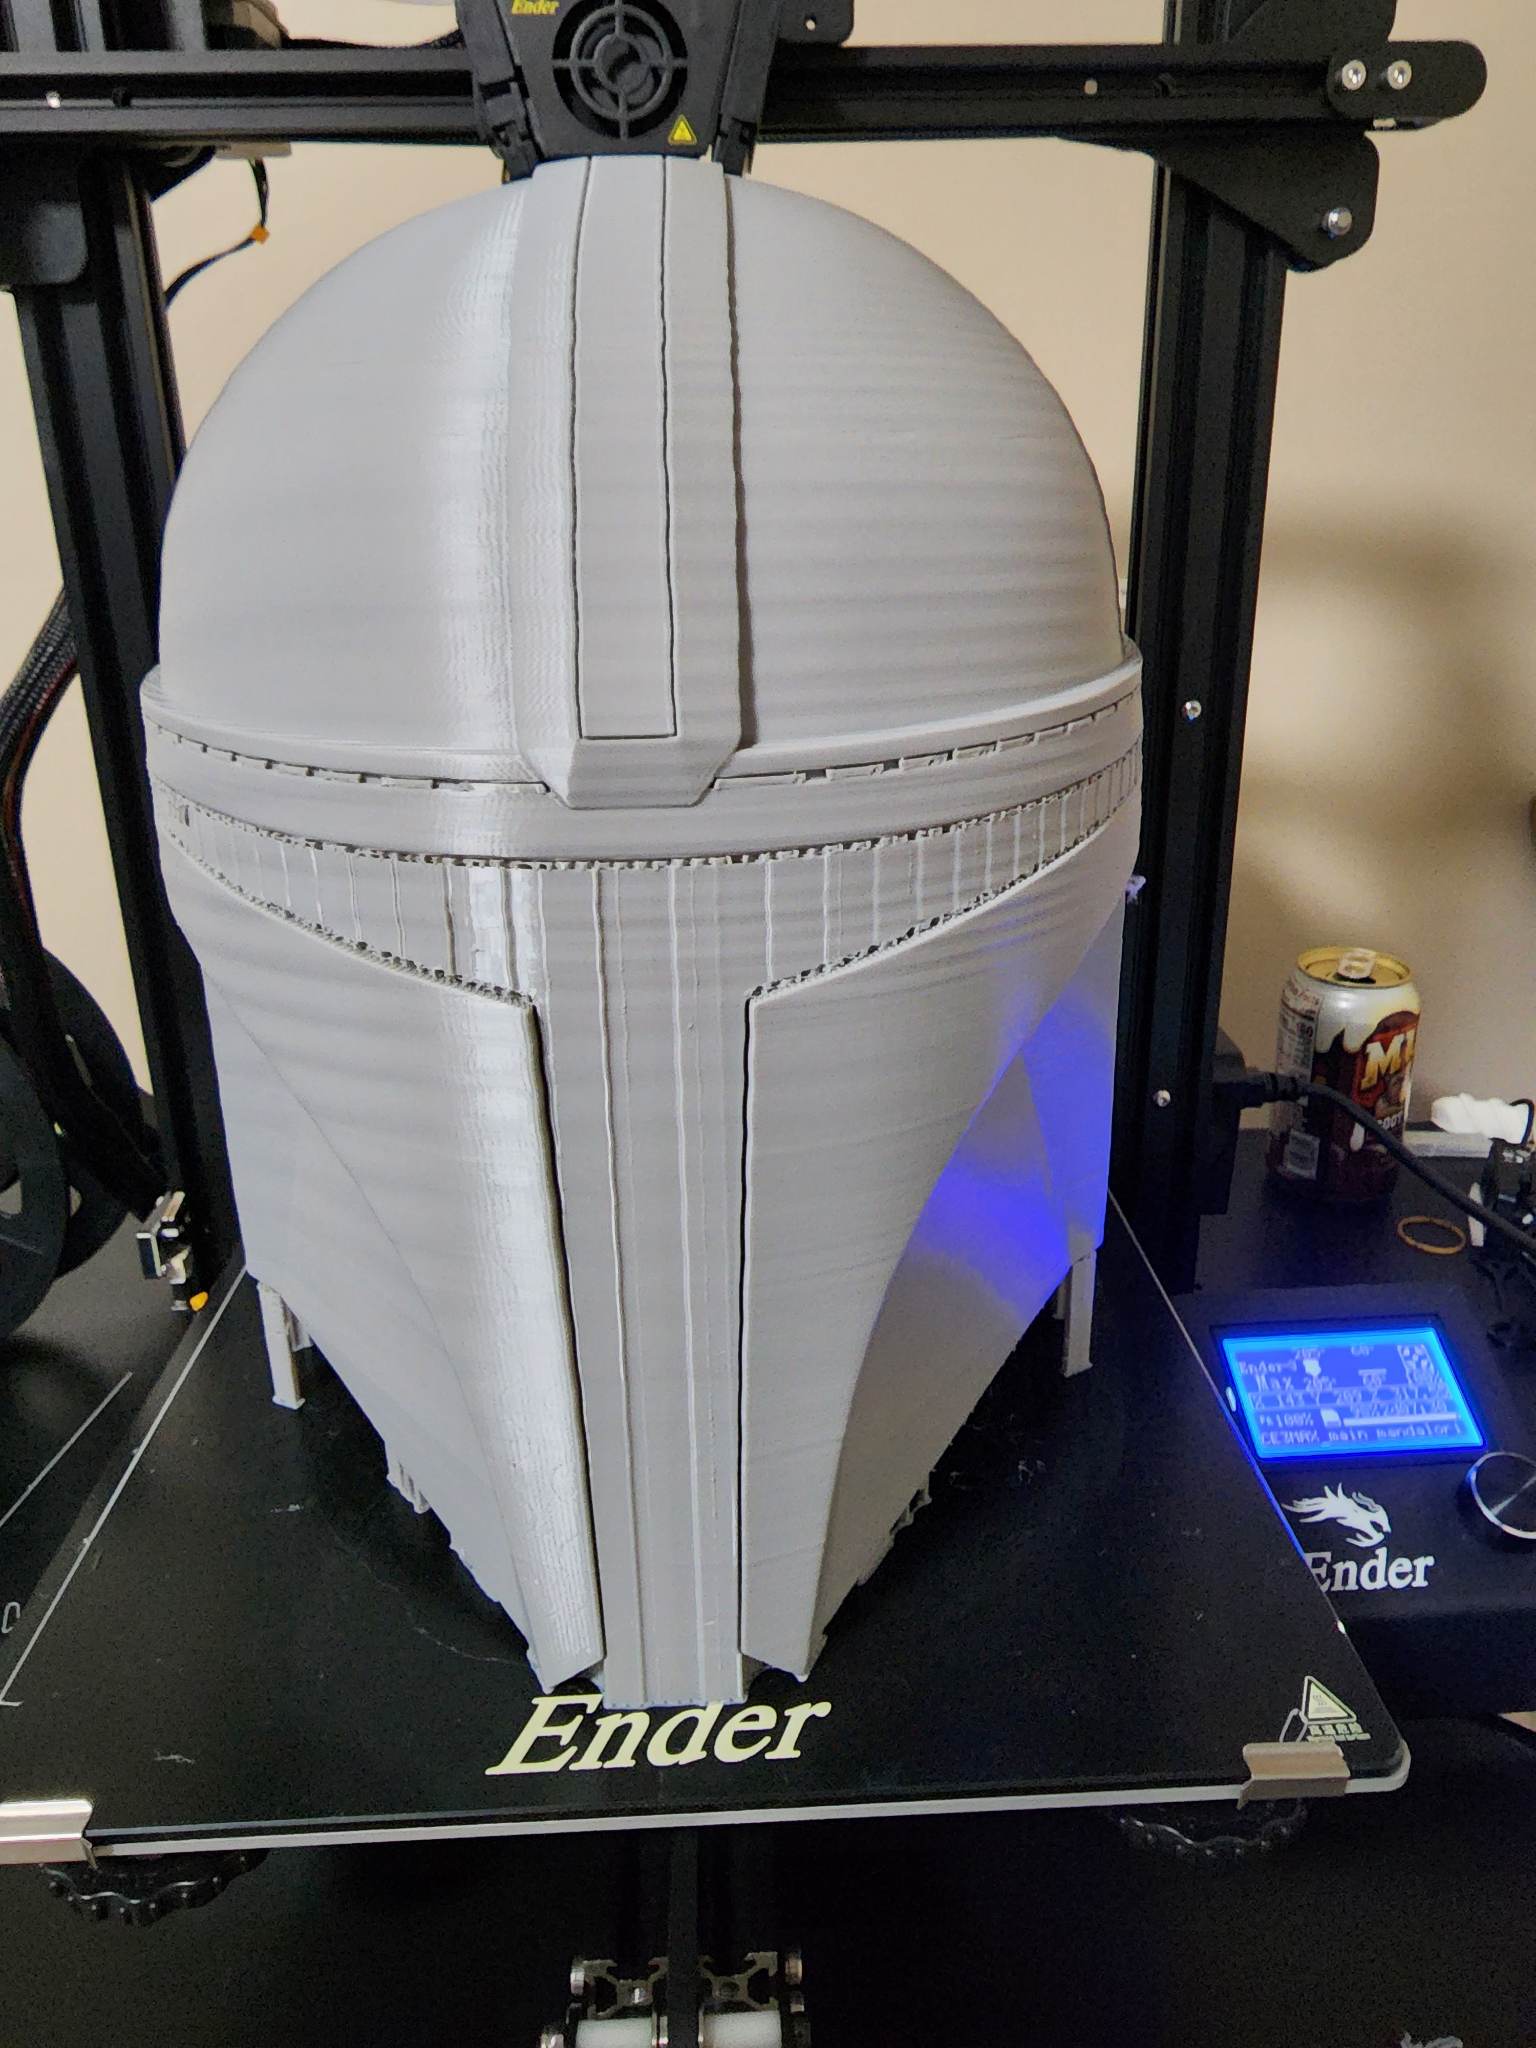
Introduction: In a galaxy not so far away, a project was born - the creation of an iconic Mandalorian helmet. Join me as I take you through the thrilling adventure of bringing this legendary piece of armor to life using the power of 3D printing and craftsmanship.
The First Big Print: My journey began with a leap of faith into the world of big prints. It was my first time attempting such a massive project, and the Mandalorian helmet promised to be a test of patience and skill. With print times exceeding 24 hours, the stakes were high for a young 3D printer like me. My dad had tackled prints that spanned multiple days, but I had always been hesitant, fearing potential mishaps like spaghetti prints or layer peeling, which could waste a ton of PLA. However, armed with determination and some guidance from online resources, I optimized my printer settings, adjusted the infill to 12%, and customized supports for optimal results.
The inside of the dome was an interesting challenge; it didn't necessarily need supports if the appearance on the inside wasn't a concern, which was a bit of a novel idea back then. This strategy saved time and material.

Bondo and Sanding Marathon: Once the helmet emerged from its lengthy print, it was time to refine it to perfection. Sanding became my best friend as I meticulously smoothed every surface, layer by layer, using various grits for a flawless finish. The next step in my post-processing arsenal involved Bondo, a versatile filler used to address any remaining imperfections. I applied Bondo to fill gaps and holes, then embarked on a resanding marathon to achieve a seamless, uniform surface. This process was repeated several times until I had completely covered my workspace in red dust from the Bondo – a messy but satisfying indicator of progress.
Painting and Metalization Mishaps: With the surface smoothed and prepped, it was time to add color and texture. I started with a filler primer to create a uniform base, followed by high gloss black spray paint. Each layer underwent meticulous sanding to remove any drips or imperfections. The next phase was metalization, a process aimed at achieving the iconic metallic look of Mandalorian armor. I ordered graphite from Amazon and applied it carefully with a cotton pad onto the black gloss paint. Initially, the result was promising, but disaster struck during the gloss finish application. The graphite crystallized upon contact with the finish, creating clumps and an undesirable texture. It was back to square one, requiring extensive sanding back to the primer.
Refining the Metal Look: Undeterred by setbacks, I delved into research and discovered finer grain graphite, ordering it from a scientific supply site. With renewed determination, I resumed the sanding and painting process, ensuring a flawless high gloss black base before applying the new graphite. This time, the results were astonishing – a mirror-like shine that truly emulated the metallic allure of Mandalorian armor. I opted not to apply a final finish since the helmet wouldn't undergo much handling, and I polished the graphite to a point where it didn't transfer to the skin, ensuring a clean finish.
Final Touches and Visor Installation: With the helmet's appearance perfected, the final touches were all about functionality and authenticity. I ordered a visor from Amazon, cut it to size, and used Velcro to attach it to the inside of the helmet. This addition not only completed the look but also added practicality for cosplay or display purposes.
Conclusion: Crafting the Mandalorian helmet was more than a project; it was a journey of growth and discovery. From conquering the fear of big prints to mastering post-processing techniques and overcoming unexpected challenges, each step brought me closer to realizing a piece of Mandalorian lore in tangible form. The helmet stands not only as a testament to creativity and craftsmanship but also as a reminder that every setback is an opportunity to learn and improve. As I don the helmet, I'm transported to a galaxy far, far away, where dreams and imagination merge with the power of 3D printing.